How to Create a Free QR Code Guests Can Scan to Upload Wedding Photos
Make a free QR code guests scan to upload wedding photos: pick where the link goes, generate the code, set upload-only access, print signs that scan. Sept 2026.

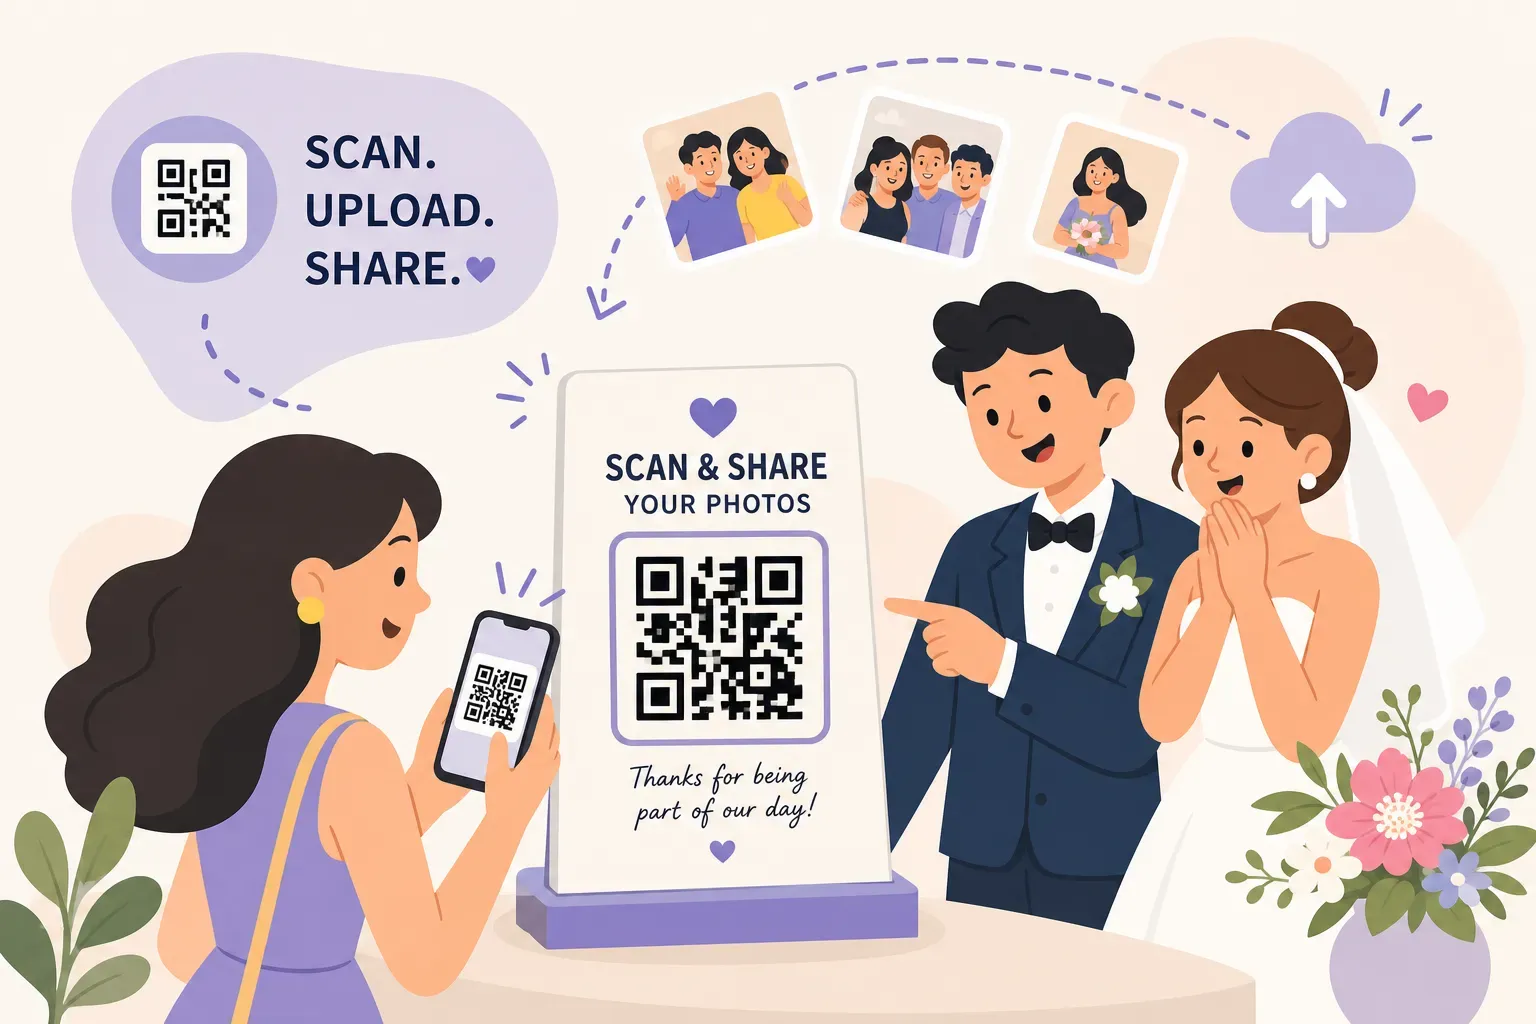
After the honeymoon most couples have the photographer's gallery and a few dozen phone photos of their own. The guests took thousands more, and those are sitting in camera rolls and group chats, slowly buried under brunch and dog walks. A QR code on every table fixes this, and it costs nothing: guests scan, a browser page opens, they upload, and everything lands in one album.
This guide is the whole job in one evening: choosing where the link goes (that decision matters more than the code), generating a code that scans in reception lighting, setting permissions so guests can add photos but never delete them, printing signs people actually stop at, and testing the lot before the cards are on the tables. Every free-plan limit quoted below was read from the platform's own pricing or help page on 18 September 2026; the Sources section lists them. We build EventPixel, and we say plainly where a free alternative does something ours does not.
Step 1: decide where the QR code sends guests
The QR code is just a link. Whether the idea works at 9 pm on the day depends on what is behind that link and whether a guest who is mid-conversation and two drinks in can upload without hitting a wall. Choose the platform first, then make the code.
Free options that let guests upload from a browser
| Platform | Free plan cap | How long it lasts | Guests need | Catch |
|---|---|---|---|---|
| EventPixel | 100 guest photos | 30-day upload window, 14-day guest viewing, nothing deleted after | Nothing: no app, no account | Photos only on the free plan, no guest video |
| WedUploader | Your Google Drive space (15 GB free, shared with Gmail) | Never expires, it is your Drive | Nothing | Free plan has no gallery page: guests upload but cannot browse |
| Wedibox | 50 uploads total | 1-year storage | Nothing | 50 uploads is one table's worth |
| GuestPix | 50 photos ("Wedding Demo") | 30-day upload window | Nothing | No video on the free tier; paid galleries start at $49 |
| Kululu | 50 uploads (pricing page; its help centre says 100) | 24-hour upload window, gallery viewable for 7 days | Nothing | No "download all" on free; the gallery is inaccessible after a week |
| Google Photos shared album | 20,000 items per album, within your 15 GB | Indefinite | A Google account to add photos | The sign-in wall: viewing is open, contributing is not |
One platform often listed as free is not: GuestCam has no free tier at all, only a demo gallery and paid plans from $49. It is a fine product, but it does not belong in a "free QR code" plan.
Read the table for the wall your guests will hit. Google Photos is the most generous on volume and the worst on friction: anyone can view a shared album from a link, but adding to it needs a Google account, which at a reception means most people will not bother. Our guide to Google Photos shared albums for a wedding covers what else breaks. GuestPix, Kululu and Wedibox are free in the sense of a trial: 50 photos is gone before the speeches. WedUploader is the genuinely unlimited free option, with the trade-off that on the free plan guests upload into your Drive and never see a gallery. Where a free plan does something ours does not: Kululu and WedUploader accept guest video for free; EventPixel's free plan is photos only.
What EventPixel's free plan includes
Creating an event gives you an event page with an upload button, the QR code and link ready to download, a live photo wall for a TV or projector, a basic RSVP form, and room for 100 guest photos. Guests scan, upload from the browser, and never install anything or make an account. No card is needed to start.
The limits, so you can plan around them: the upload window closes 30 days after the event date and guests can view the gallery for 14 days after it. When that ends the gallery locks for guests, nothing is deleted, and you keep your dashboard and can download everything. 100 photos is enough for a dinner or a shower; a wedding of 100 guests produces several hundred to a few thousand, so the practical pattern is to set up and test on free, then upgrade before the day. The free plan limits page has the line-by-line version.
Two paid features are worth knowing about before you print anything, because they change what you write on the sign. The live photo wall shows uploads on a screen at the venue as they arrive, which is the single best prompt for more uploads; it is included free. PixelFind lets a guest take one selfie and get every photo they appear in, which matters when the album is thousands of images from dozens of phones; hosts get a preview of it on free, and every guest gets it on the Premier ($39) and Grand ($69) plans.
Step 2: make the free QR code
If you created an EventPixel event, skip this step: the QR code is already on your dashboard as a high-resolution PNG, see download your QR code. For every other platform, or if a planner or printer is making the signs without dashboard access, it takes five minutes.
- Copy the guest upload link from your platform. The share or upload URL, not your admin dashboard.
- Open the free wedding QR code and sign generator and paste the link, including
https://. It encodes any URL, needs no account, and gives you either the bare QR code as PNG or SVG for your own stationery, or a finished "scan to share your photos" sign in one of 13 designs at 300 DPI. QR Code Monkey and Canva's QR tool also work for the bare code. - Download the SVG where you can. SVG scales to any print size without going soft. If you only get a raster file, export it at 300 DPI at the size it will be printed. A low-resolution JPEG is the most common reason a card looks fine on screen and fails to scan on the table.
- Scan the downloaded file from your phone before you design anything. A wrong link is a free fix now and a reprint later.
Matching the code to your wedding palette
One rule beats every design idea: dark code on a light background. A cream or blush background with a charcoal code scans reliably in dim reception light; a navy card with a white code often does not, because the phone camera struggles to lock on. If you add a monogram in the centre, generate at the highest error-correction level (usually marked "H") so the scanner can work around the graphic. Skip rounded or decorative module shapes from free generators: they look clean at screen size and fail at 3 cm on a tent card, which is where they need to work.
Step 3: set permissions so guests can add photos but not delete them
A live QR code is half the job. The other half is making sure a guest cannot accidentally wipe someone else's photos, and that nothing you did not mean to share is one tap away from the upload page. The setting to look for on every platform is a guest role that is upload-only, and a moderation or approval setting you understand before the day.
How it works on EventPixel
- Guests cannot delete anything. A guest can upload; only you and your co-organizers can remove a photo, from Manage Event Gallery. If a guest wants their own upload gone, you do it in a few seconds. See delete a photo a guest uploaded.
- Photos are live the moment they land. There is no approval queue and nothing to remember to release, which is what keeps the live wall live. Your tool is delete, not approve.
- Downloads are a switch. Turn Enable Downloads off if guests should look but not save, or require sign-in to download.
- The link is private but not secret. Anyone with the link or the code can upload and view; the link is long and unguessable and the event is listed nowhere public. On paid plans you can add one shared event password. Details in who can see my gallery.
On other platforms
Look for the guest-permissions or moderation settings in the dashboard and choose the upload-only option where it exists. Two things to check regardless of platform: whether uploads are held for approval before anyone sees them (fine, as long as someone is approving during the party), and whether changing a permission generates a new share URL. Some platforms do, and that silently breaks every card already printed with the old link. Retest the printed code after any settings change.
Keep the private albums out of the upload flow
If the photographer's edited gallery and the guest candids live on the same platform, keep them in separate albums and give the wedding party a different link from the one on the tables. Guests get upload-only; the couple and family get view-and-download. The two permission levels never overlap, and nothing unfinished is exposed.
Step 4: design signs guests will stop to scan
A code nobody notices collects nothing. Most of the difference between a table that uploads and a table that does not comes down to size, contrast and one clear line of text.
Print specs that scan first time
- Minimum code size: 3 cm across on a tent card, 10 cm or more on an easel sign or poster.
- Resolution: 300 DPI, and SVG wherever the printer accepts it.
- Quiet zone: keep the white margin around the code clear. A decorative border that creeps into it is the most common reason a beautiful card does not scan.
- Paper: matte over gloss. Gloss reflects candles, uplighting and camera flashes straight back into the phone camera.
Sizes and quantities that work: an A4 or letter welcome sign (A3 on an easel) at the entrance and another by the bar, one folded 4x6 tent card per table, and business-card inserts in the favour bags if you want a take-home reminder. A home printer handles the cards on 200 gsm stock; a copy shop does the A3 for a few dollars and gives you a sharper code. The printing guide and the printable templates cover both routes, and if you would rather not print at all, printed cards and signs can be ordered.
What to write on the cards
One line. Guests glance, they do not read. Keep the instruction literal and print the short link under the code for anyone who prefers to type.
- Table tent card: "Took a photo? Scan to add it to our album."
- Welcome easel: "We'd love to see your view of today. Scan to share your photos."
- Guest book table: "Signed the book? Now scan and share your favourite photo from tonight."
Where to put them
Every table gets a card: guests are seated, unhurried, and that is the best scanning moment of the evening. The bar and the guest book table are the second touchpoints for anyone who missed it. At a photo booth, put the sign at eye level where people queue; they are already in photo mode. If the live wall is on a screen, leave the small QR code on the wall turned on: people watching the screen scan it more than any card. There is a longer placement guide in the help centre.
Step 5: test the full flow a week before
Printing twenty cards and finding out at the venue that the code opens a broken page is fixable only if you find out early. Run this test on the printed card, not the screen version, at least a week out so there is time to reprint.
The two-phone test
- Scan the printed code with one iPhone and one Android, in light as dim as the venue will be.
- Confirm the page opens in the browser with no login, app or account prompt.
- Upload a real photo from each phone and check it appears in the gallery.
- Log out of your admin account, scan again as a guest, and confirm there is no delete or edit control on anything.
Fixes for the usual failures
- Will not scan: the code is too small, too low-resolution, or the quiet zone is cropped. Regenerate from SVG at a larger size. The QR code not scanning checklist has the rest.
- Asks guests to log in: the share link is private or set to contributors only. Fix the permission, copy the new URL, make a new code.
- Photo uploads but does not appear: on platforms with an approval queue the upload is waiting for you. On EventPixel there is no queue, so check the free-plan cap: the 101st photo is refused with a message asking the host to upgrade, and nothing already uploaded is affected.
- Venue Wi-Fi is bad: the scan works offline but the upload page needs data. Print the venue Wi-Fi password on the welcome sign, or tell guests the upload window stays open for weeks after the day.
FAQ
How do I make a free QR code for guests to upload wedding photos?
Create a free event on a guest photo-sharing platform (EventPixel's free plan gives you the upload page, QR code and live wall for 100 photos), or set up a WedUploader album into your Google Drive. Copy the guest upload link, paste it into the free wedding QR sign generator, download the SVG, print it at 3 cm or larger on matte card, and scan the printed card with two phones before the wedding.
Do guests need an app to upload photos with a QR code?
Not on EventPixel, WedUploader, Wedibox, Kululu or GuestPix: the code opens a page in the phone's browser and the upload happens there. Google Photos shared albums are the exception: anyone can view from the link, but adding photos requires signing in to a Google account.
Is a QR code for wedding photos really free?
The code is always free. The platform behind it has a cap: 100 photos on EventPixel, 50 on GuestPix, Wedibox and Kululu, your Drive space on WedUploader, your Google storage on Google Photos. For a wedding, plan to use the free plan for set-up and testing and budget for a paid plan ($19 to $69 one-time on EventPixel) so the cap does not hit mid-reception.
Can guests delete photos that other people uploaded?
Not on EventPixel: guests can only upload, and hosts and co-organizers are the only people who can remove a photo. On other platforms, look for an upload-only guest permission and confirm it by scanning the code while logged out of your own account.
How big should a wedding QR code be printed?
At least 3 cm across on a table card and 10 cm on a sign or poster, at 300 DPI, with the white quiet zone around it left clear. Use the SVG export where you can and matte paper rather than gloss.
How long do guests have to upload after the wedding?
It depends on the plan. EventPixel's free plan keeps the upload window open for 30 days after the event date, and paid plans extend it to 3, 6 or 12 months. Kululu's free window is 24 hours from the event start; WedUploader and Google Photos have no upload deadline.
Sources
Free-plan limits were read from each platform's own pages on 18 September 2026: WedUploader (weduploader.com pricing and FAQ), Wedibox (wedibox.com/pricing), GuestPix (guestpix.com pricing and the free Wedding Demo page), Kululu (kululu.com/pricing and help.kululu.com articles on the upload window, access duration and downloads), GuestCam (guestcam.co/pricing), Google Photos (Google's shared-album help pages on album limits and contributing), and EventPixel (pricing and the free plan limits help article). Where two first-party pages disagree, as Kululu's do on the free upload count, both figures are given.
Conclusion
A free QR code for guest wedding photos is a one-evening project: pick the platform whose free cap you can live with, make the code from the upload link, lock guests to upload-only, print at 300 DPI on matte card, and run the two-phone test a week out. If you would rather not assemble it from three tools, create a free EventPixel event: the upload page, the QR code, the live wall and the print designs come together, guests use it from any browser with no app or account, and you can run the same test on it tonight.
Related reads: